
When I took this over, I had to figure out how to plant an upside down pot. This planter had been neglected for several years.
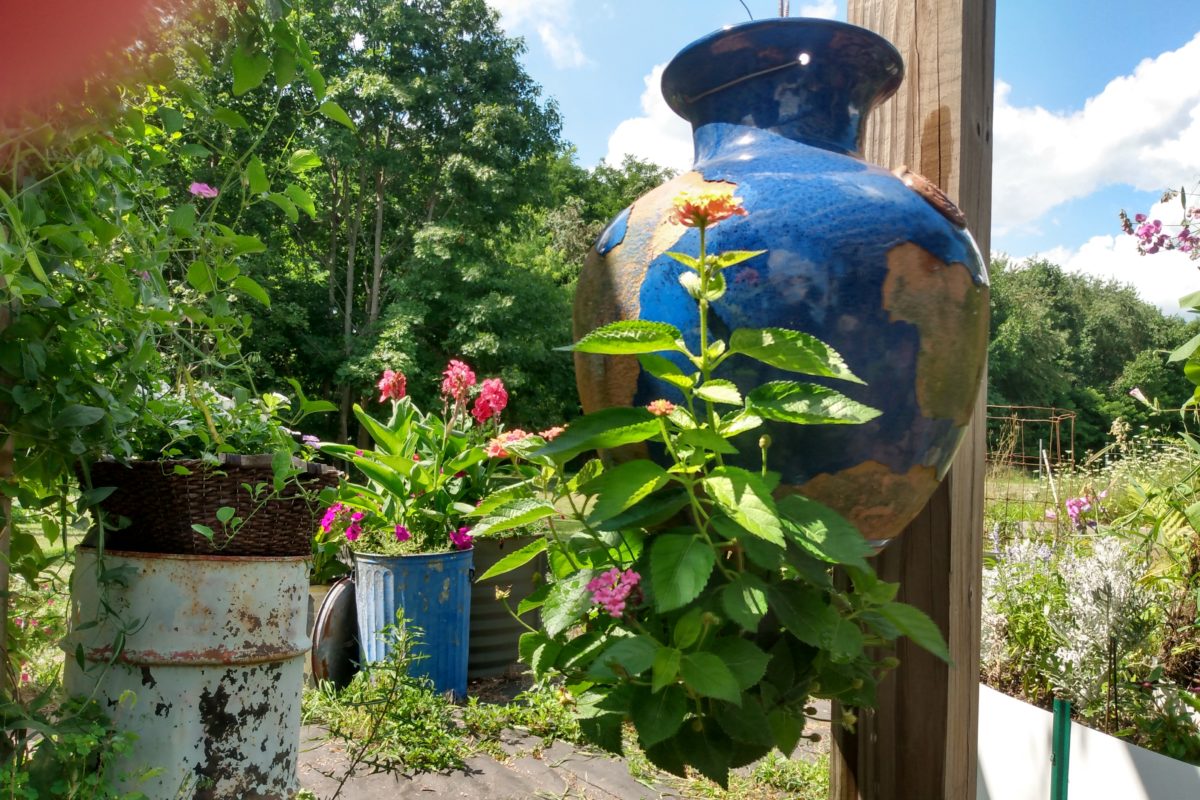
This is a special kind of container, made to be planted, inverted and hung once the plants have grown enough roots to hold everything together inside.
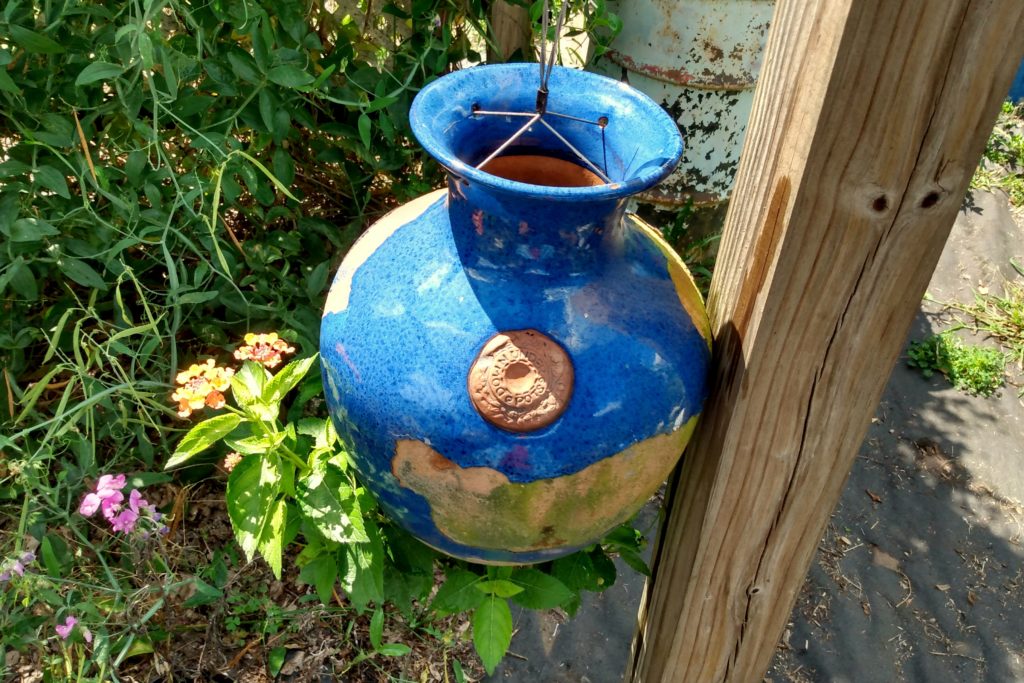
Ours was left outside over several winters, which caused some of the glazing to break off due to the freeze and thaw cycle. It’s okay with me that it looks rustic, but with normal storage in a shed this would not have happened.
Still, it’s a heavy jug with a lot of room and we have a good place for it under a pergola.
Here are the steps I used to get it ready for the summer:
- Clear out any leftovers from the prior season.
- Assemble the ingredients, such as potting soil, a colorful plant and this year, I included a watering disk. If you want to include that, follow the package direction about whether it should be presoaked.
- Work from the bottom, which is the larger opening. The smaller end is the top, which has hanging hardware on it. For now, this is wrong side up.
- Place some wadding in first, to help hold in the soil. I used leftover trimmings of garden fabric. You could also use scraps of coconut liner or even newspaper.
- Add some of the planting medium to about a third of the way full.
- Put in any water-assist item, if you’re using that, at this point. I used one that’s a dry gel circle and it expands to three or four times its size when soaked. There are other types, as well as the loose crystals that you might want to use.
- Finish filling with soil.
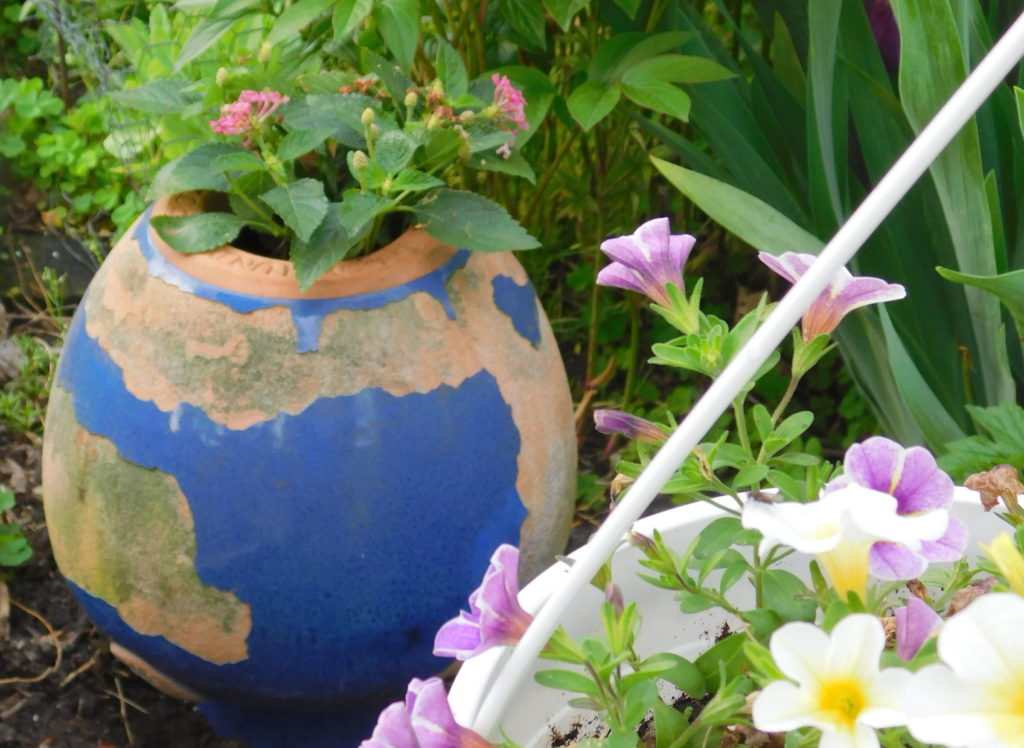
- Plant your flower. It can be tough to work in such a small space and make sure to get the right “depth,” but the finished product is worth it.
Then I put the finished unit in with the rest of my garden stock for the coming season. I balanced it inside another, larger pot, to keep it from tipping over. It was resting on the small end, and top heavy. At that point, the thing was really wrong side up!
Once the weather was warm enough, I brought it out into the garden and put it in a spot that was close to where it would stay for the season.
After about a month of growth, the root system was beefy enough to keep everything together. Time to turn it over and hang it. If in doubt, I would err on the side of more time, and let it grow another week before flipping. If it falls apart, I would have to start over.
I chose lantana because those have done well in the past. The stems are somewhat woody, which helps it support itself as it grows up the sides.
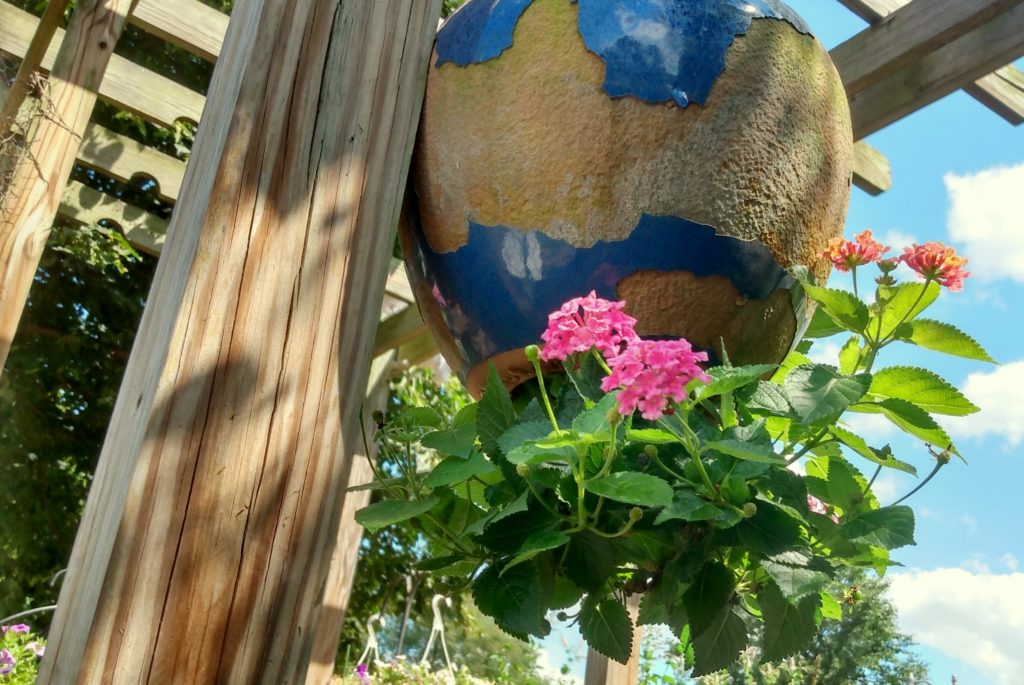
I like this because it is an unusual garden novelty. I like the way it looks as it becomes more and more lush all season long.